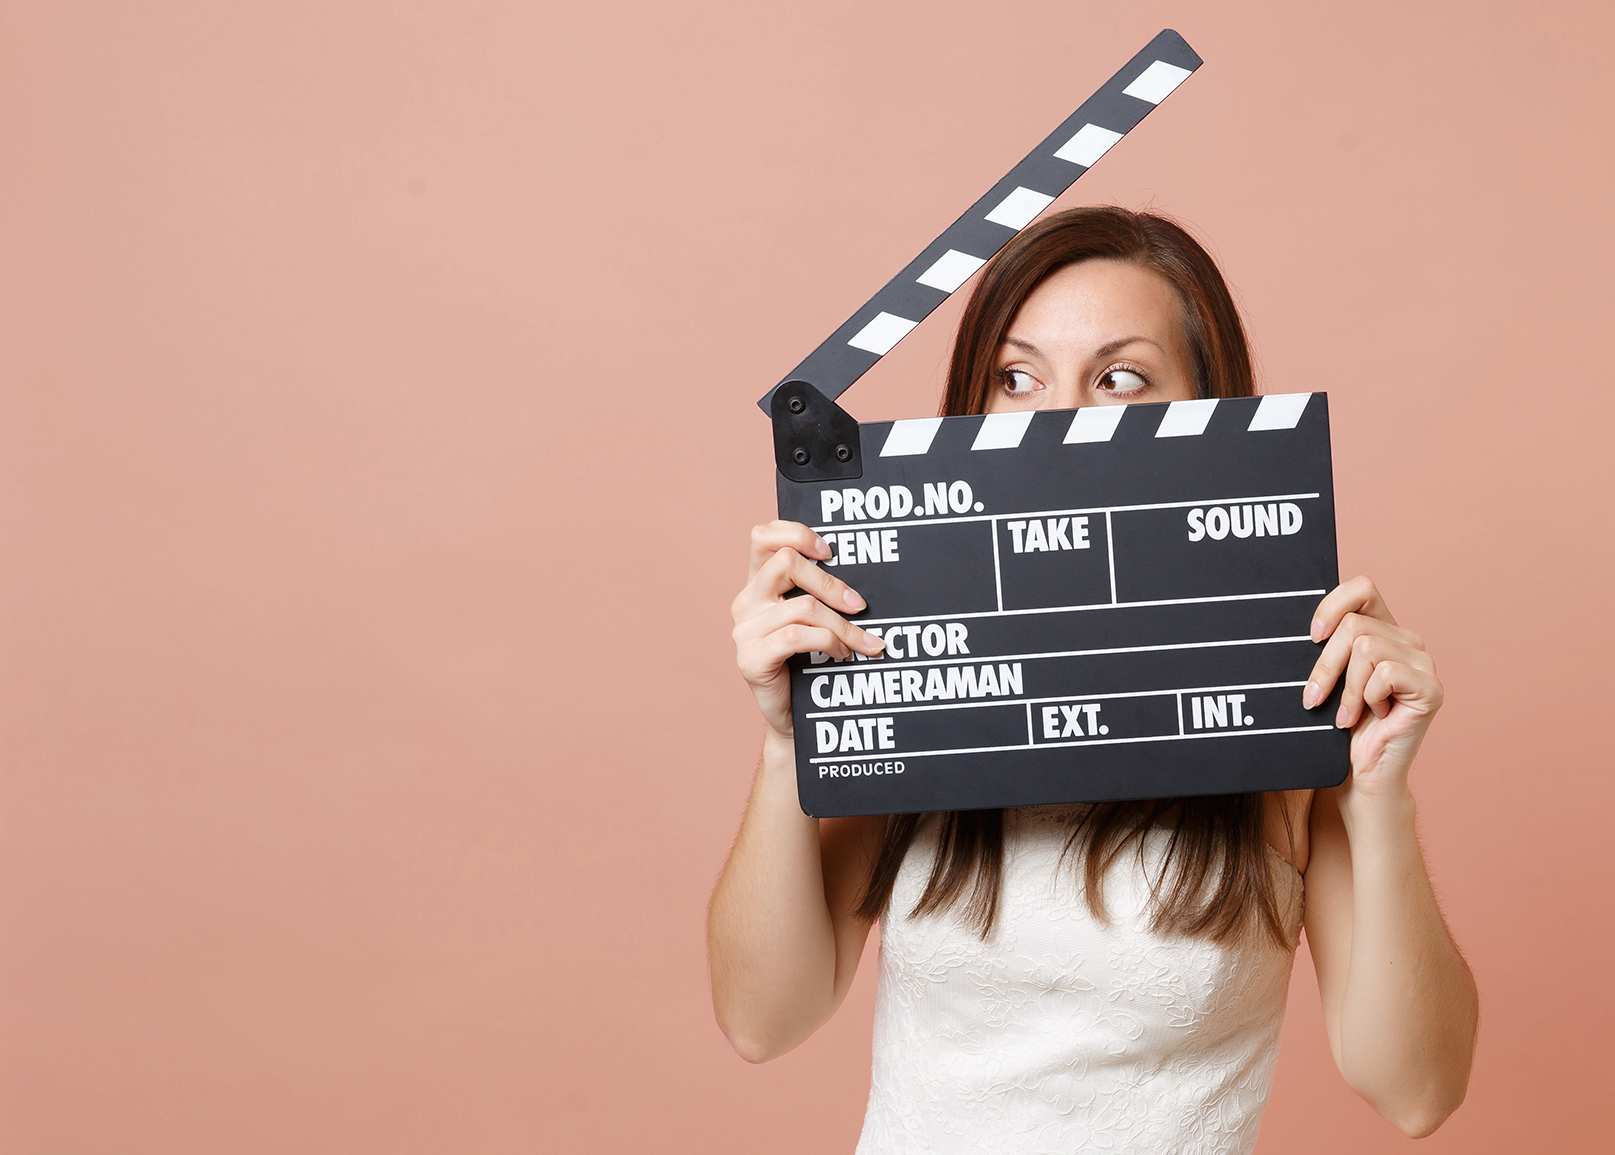
How To Feel Good In Front Of The Camera
To be or not to be in front of the camera? Showing your face can make a huge difference – here’s how to nail it:
So you want to create video content for your brand or business and have decided on a type of video where you will actually be in front of the camera. Cue panic mode!!
If the thought of doing that is making you feel a little awkward and uncomfortable, know that you are not alone.
You wouldn’t believe how many times I’ve heard a new client tell me that their fear of being awkward in front of the camera used to keep them from creating impactful video content.
Or they have actually tried it, but didn’t get the responses they had hoped for, perhaps even received critisism, or just generally didn’t feel quite satisfied with the outcome.
And while practice does make perfect eventually, if you don’t have the time for countless attempts and mediocre videos, get ready for a little bootcamp.
Here are my 8 best tips and hacks that I, as a film director and videographer, can give you, to help you nail your video performance.

Step 1: Know what you’re going to say, and why
You wouldn’t believe how often people will just press play and see what happens. Sure, you can do that. But unless you are really, really experienced and know your brand and audience inside out, that will not result in great quality, and it’s probably going to cause you more work in post-production. Before you even go near a camera, be 100% clear on:
The purpose of this video
Who you are talking to
Why you are talking to them
What needs to be said
Step 2: Write a Script
This might sound a bit extreme, especially for shorter videos such as Instagram Stories, and no, you don’t have to do this every single time, but it’s going to make a huge difference when you do.
Start with writing down some key talking points first that are based on answering the questions in step 1. And if you’re good at public speaking, this might be all you need and you can move on to step 3 right away. But especially if you’re just starting out with video, I’d strongly advice you to write an actual script.
Take your key talking points and imagine how you would talk to a friend about them. Write that down, then structure it and make sure it’s on point, in your brand tone of voice, and conveys all the info you need it to convey.


Step 3: Visualize
This might happen naturally as you are writing the script depending how your mind works. Actively imagine what your video is going to look like and don’t limit yourself just yet. See what comes up. Maybe there’s some b-roll footage, a specific camera angle, or an editing choice that would help your message. See the video in front of your eyes. Then plan out your shot to get as close to that as possible.
Bonus Hack: If you wanna be super thorough, create a storyboard.
Step 4: Rehearse
Practice what you are going to say out loud 5-10 times. Try to be less glued to your lines each time. As you do this, look at an object while talking. This could even be your camera already, or your toaster, or anything really that isn’t moving and that is on eye-level with you.
But don’t really see the object, try to look through it instead and imagine you are talking to a friend. Don’t think of all the people who are going to watch you’re video. It’s just an object and a good friend you’re seeing in your mind.
If you practice this long enough, it will make staring at a camera lens a LOT less intimidating.


Step 5: Throw Your Script Out
Yep. Get rid of the script and detach yourself from trying to get it perfect word by word. The script is there to give you a foundation and to stop your mind from worrying about what you are going to say next.
Even if you get a bit too much off-script while you’re recording, having done a solid preparation during rehearsal will provide you with a clear roadmap you can always fall back on and continue with your video. Thus eliminating one of the biggest obstacles to being in front of the camera: worrying you’re going to blank or say something stupid.
If you’re not recording live, this is still going to save you so much time in post-production because you’ll end up with fewer takes and won’t have to edit out as many bloopers and slip-ups.
Step 6: Light Your Shot
Two of the biggest insecurities we encounter is to not look good on camera, and for the video to look unprofessional. Lighting can prevent both of that from happening. And while this is a topic that could easily fill its own article, here are the basics for now.
First and foremost, lighting needs to do three things:
- Support the story
- Put the focus on where it’s supposed to be
- Create the illusion of the image being three-dimensional
For videos where you’re talking to an audience, this means you should be the best-lit thing in the frame, the lighting needs to match your style, and it shouldn’t make you look flat.
When setting up your shot, make sure you have:
Key Light: a bright light placed in front of you, around 45° above and 45° to your right or left
Fill Light: a softer light to fill the shadows on your face
Rim Light: a soft glow in the background for depth, placed above & behind you, out of shot
Step 7: Get In Your Body
Yes, we are finally ready to hit that record button! And as you’re now getting all excited and feeling that adrenaline starting to rush through your body, make sure you do not tense up.
Take a page out of the book of professional actors and presenters and do a proper warm up before you say action.
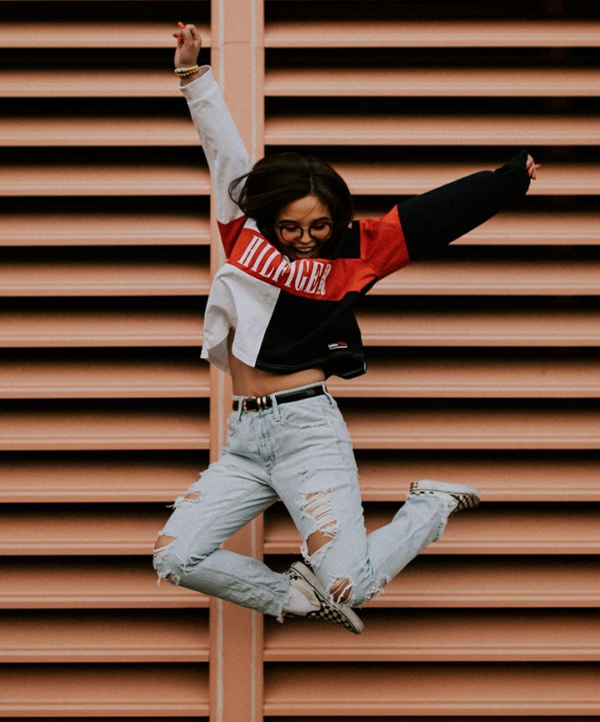
Jump around and shake those arms, legs, booty, shoulders and whatever else you can. Bonus points if you use your voice and loosen up your lips by making them flap. Do this until the tension is out of your body.
Then stand still and take some deep breaths. This will get your voice to where it naturally sits and make you sound real and authentic.
Step 8: Shoot a Rehearsal Take
Once everything is set up and you’re feeling awesome and good to go, I want you to do your first take as a rehearsal. When you press play for the very first time, do it with the full intention to only use this for yourself as a camera rehearsal. This is not for the audience. No one is ever going to see this one. It’s just for you. It’s not the real take yet.
And if it ends up being great, well… even better. Then your first take is already in the can.

So there you go. Those are my 8 steps to getting more comfortable with being in front of the camera.
I hope this has been helpful for you. If yes, let me know your biggest takeaways in the comments. And if you are ready to take your camera and video skills even further, get in touch and join my 1:1 or group sessions. Can’t wait to see you shine!
Join
Work With Me


0 Comments